The go-to guide you need for how to soak and sprout your grains, legumes, nuts, and seeds.
Soaking and sprouting is a great way to increase nutrient density, nutrient absorption and promote optimal digestion.
Whether you struggle with digesting certain beans or legumes, or if you’re simply looking for a fun way to boost the nutrition in your foods, soaking and sprouting is a great option for you!
Here you’ll find all the information you need to get started with a step-by-step guide for soaking and sprouting at home.
What Is Soaking And Sprouting?
First and foremost, you have the option to either just soak, or soak and sprout!
When soaking food items, we’re breaking down some of the naturally present substances. Sometimes this is done to make things easier in a recipe, and other times it’s to help with digestion or promote nutrient absorption (more on that later).
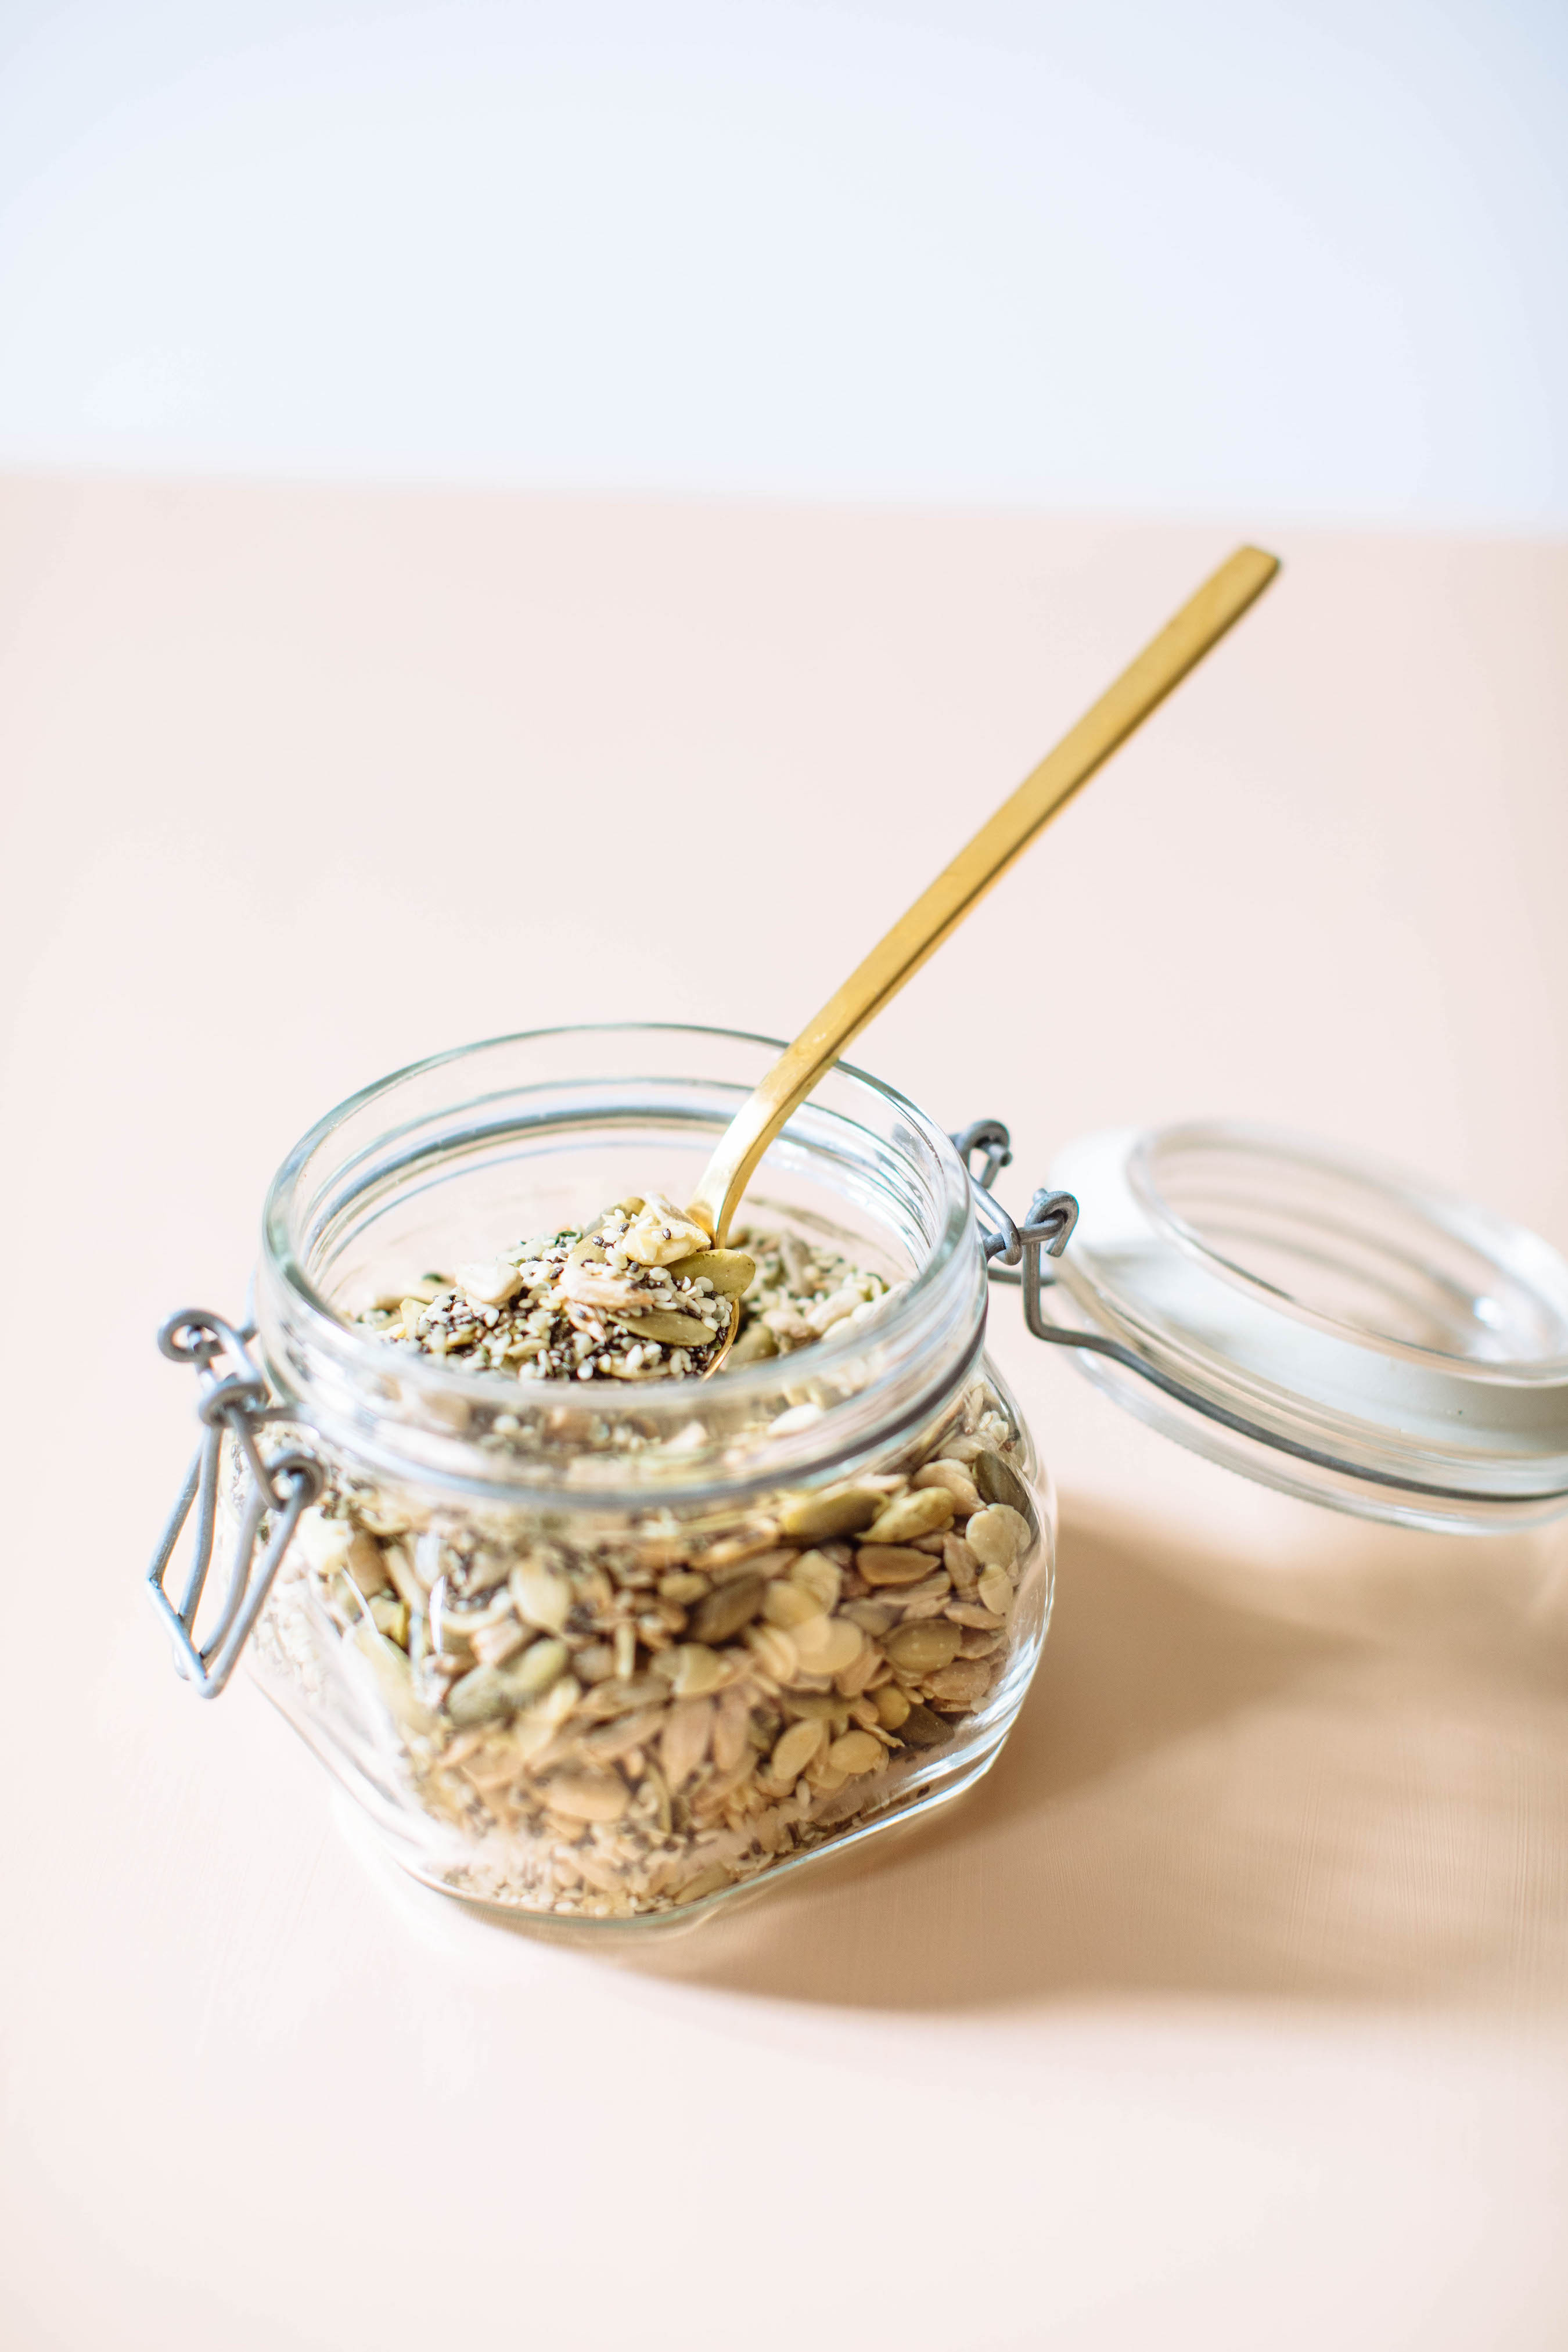
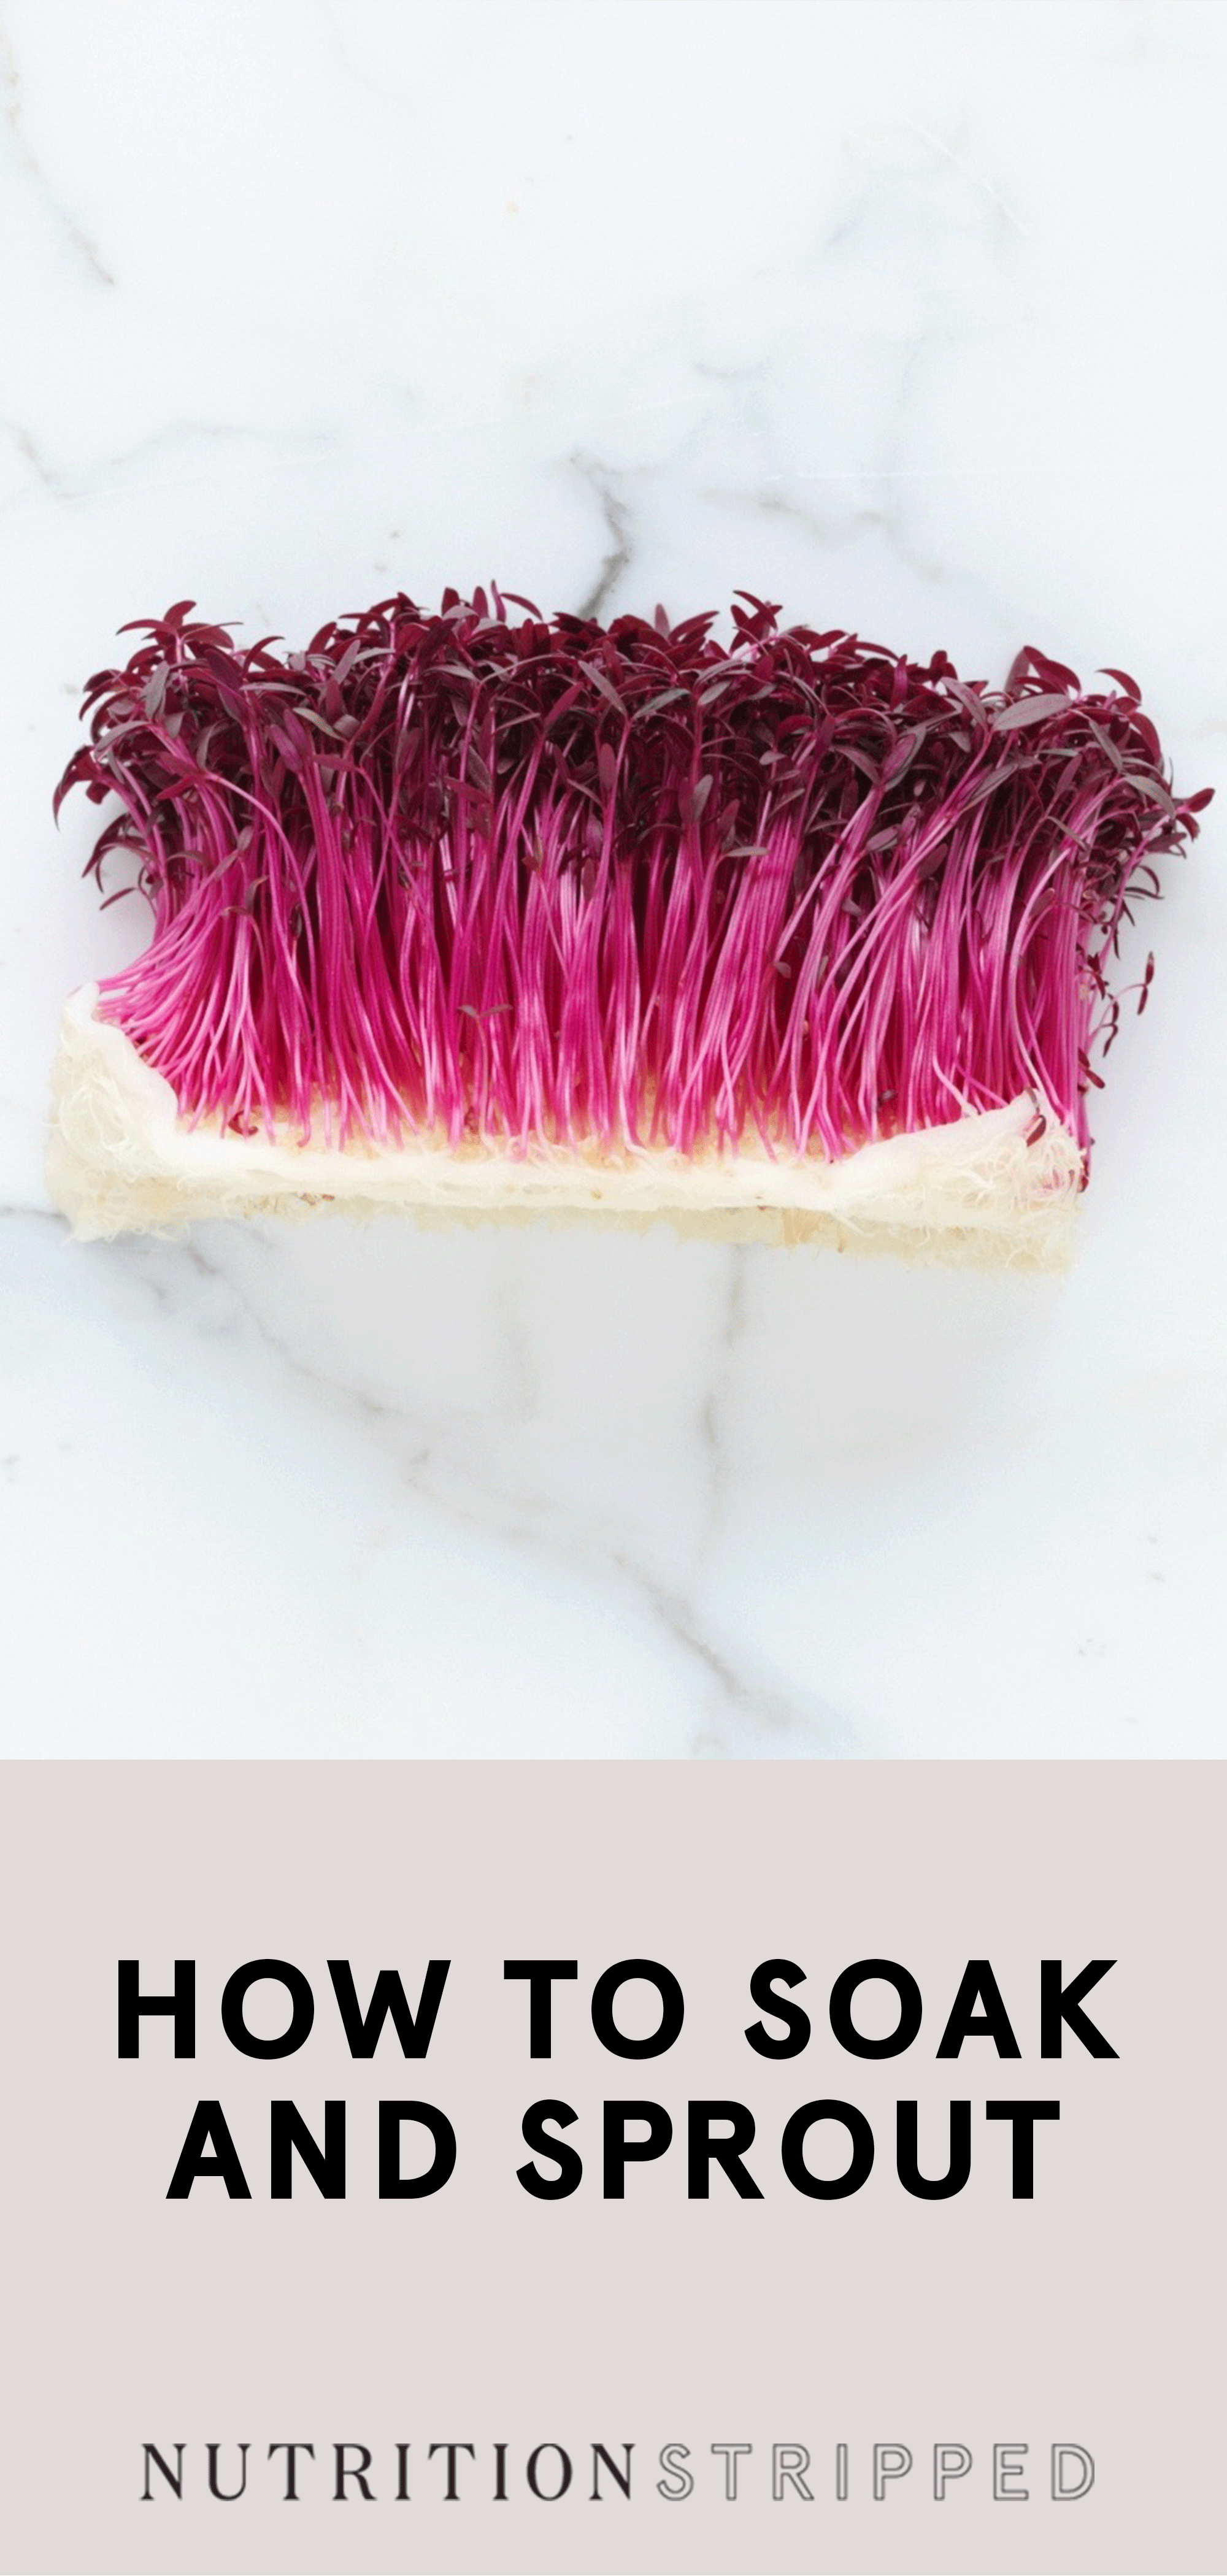
When we’re following up the soaking process with sprouting, we’re doing exactly what it sounds like: soaking a food item in order to ultimately lead to a sprouted product. You can sprout legumes, nuts, seeds (think sunflower or pumpkin) or sprout seeds (seeds intentionally purchased for home sprouting – think alfalfa, broccoli or mung bean seeds).
What we’re essentially doing is mimicking nature’s natural germination process of turning a seed into a plant.
Depending upon the particular food item you’re using, the process will differ slightly in terms of time and procedure.
Benefits Of Soaking And Sprouting
Now that we know what soaking and sprouting are, why would we bother?
Soaking
Promote Nutrient Absorption
All legumes, nuts, seeds, and grains contain an organic compound called phytic acid.
Phytic acid inhibits the absorption of several vitamins and minerals such as iron, zinc, calcium, and B vitamins.
In a primarily plant-based diet where many of these food items are the main sources of protein intake, this malabsorption isn’t ideal.
Fortunately, soaking and sprouting legumes, nuts, seeds, and grains breaks down the phytic acid to ultimately promote the proper absorption of said vitamins and minerals!
Aid Optimal Digestion
Beans and legumes are a bit tricky for many people to digest.
They contain a particular type of carbohydrates, oligosaccharides, that can cause an excess of gas, bloating, and discomfort when digested.
The soaking of beans actually allows for the removal of some of these oligosaccharides, resulting in a much easier digestion process.
Sprouting
Increase Nutrient Density
When compared to their elder counterparts (i.e. the seed), sprouts are more nutrient-dense. They have been shown to have more folate, vitamin C, vitamin A and even B vitamins.
It’s a great way to immediately boost the nutrients of food items you’re already commonly consuming!
How To Soak And Sprout
Use the following 6 steps to soak and sprout with confidence at home!

Step 1: Soak
Once you’ve chosen what seed, grain, legume or nut you want to use, it’s time to soak.
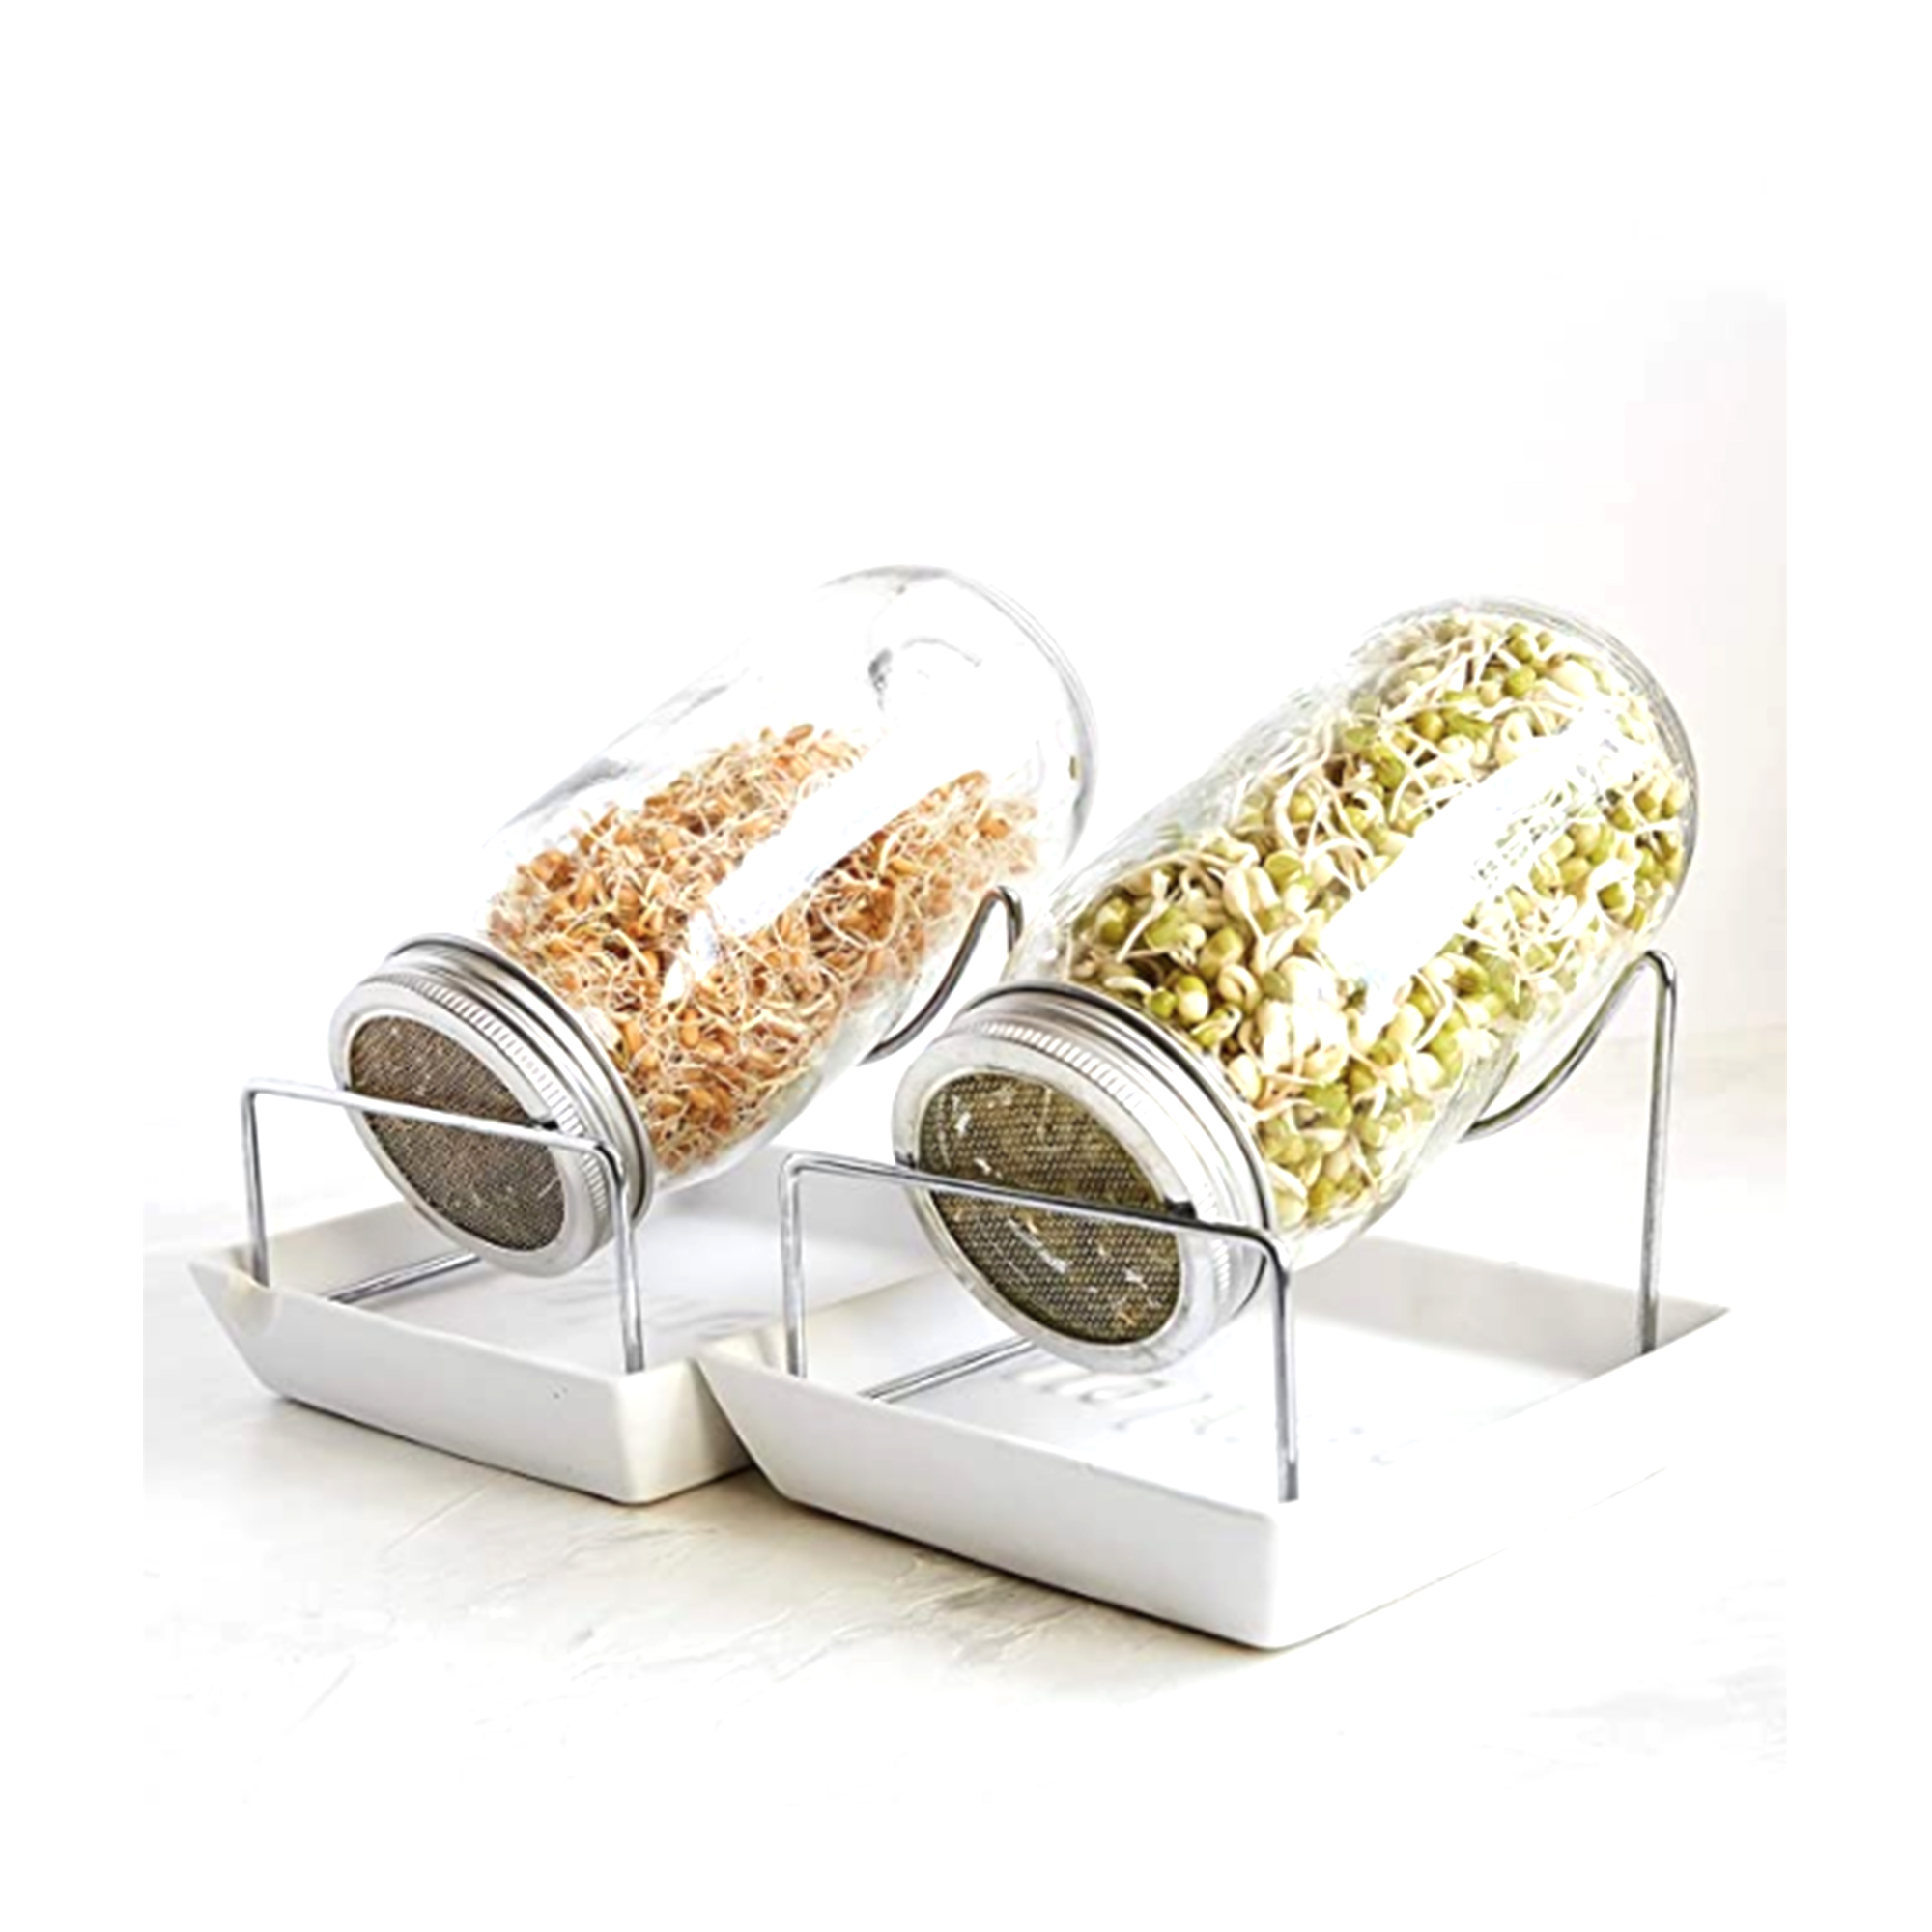
In a large glass mason jar (I use these sprouting jars), pour in your chosen food item. The amount you use just depends upon how much you want or need – totally up to you!
Then follow up with enough water to cover your ingredient completely with an inch or two to spare.
The measurement of water doesn’t really matter here, it’s only for soaking purposes.
Step 2: Wait
This is the easy part! Just let the nut, seed, grain or legume soak in the water.
It’s important to note that different food items require different amounts of time for soaking.
Check out the chart below for specific soaking time frames!
Step 3: Rinse
Next up you want to thoroughly rinse your food item.
Pour the old water out, fill the jar with new clean water and repeat until clear. If you’re using a sprouting jar, this is incredibly easy because you can just pour your water through the mesh lid, no needed to use a strainer.
The process can stop here if you’re just looking for the soaking benefits!
For example, making your own seed or nut milk from the soaked nuts or seeds is a great option.
If you’re looking to sprout, move on to step 4!
Step 4: Sprout
Essentially what you’ll be doing during this sprouting phase is “watering” your plant.
You’ll just rinse your item with filtered water several times per day (a minimum of twice per day).
The goal is to rinse the ingredient and drain the rest of the water off (I do this by putting my sprouting jar upside down at about a 45-degree angle in my kitchen dish drying rack). You can get a Sprout Jar Kit to make it even easier as well!
It’s perfect because all the excess water goes right down the sink and gives the seeds enough air circulation to grow!
 Step 5: Grow
Over time, as the nut, seed, grain or legume starts to sprout, you’ll notice a tiny “tail” coming from the seed – this mean it’s growing and sprouting!
Sprouting times can vary from 1-4 days. You’ll know it’s finished when the seeds have a tail, or if they’ve sprouted greens!
Step 6: Store
You can keep sprouts fresh in the refrigerator by wrapping them in a mesh cheesecloth or nut milk bag.
Be sure to use them within 3-4 days for optimal freshness, nutrients and safety!
Note: sprouts are at risk for contamination from foodborne illnesses and bacteria such as e. coli. This can simply be avoided by using safe practices. Be sure to keep your kitchen and jars clean, and always wash your hands.
Sprouting Chart
Usse this handy sprouting chart to know exactly how long to soak and sprout different types of foods!

How To Use Homemade Sprouts
Now that you have your sprouts, it’s time to use them!
Sprout Seeds
Fresh sprouts can be eaten raw, steamed, or cooked. They’re delicious in salads and sandwiches because they’re much lighter in texture and their flavors mesh really well.
Sprouted Grains
With grains such as sprouted quinoa or buckwheat, I love making cereals, granolas, or desserts.
You can also dehydrate sprouted grains to make flours (sprouted buckwheat flour is a great example of this).
Sprouted Legumes
I’ll cook or steam legumes after sprouting them and enjoy them just as you usually would!
Putting Soaking and Sprouting Into Practice In Your Life
So now that you know the benefits of soaking and sprouting and how to do it, is this something you’re going to try now? If its aligned with your wellness vision, ask yourself how you can start small and try it out to see if you enjoy the process of soaking and sprouting, and how the sprouts taste or how soaking things helps with your digestion.
If you give it a try, share with us over on Instagram so we can see! @nutritionstripped

The post How to Use Soaking and Sprouting (And Why It’s Beneficial!) appeared first on Nutrition Stripped.
from Nutrition Stripped https://ift.tt/2XpdyKa

Post a Comment